Carl Zeiss Iberia, S.L. - Coordinate measuring machines (three-dimensional)
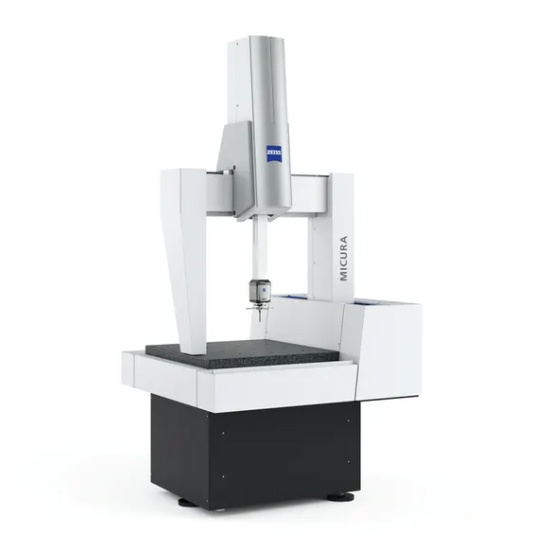
Zeiss Micura
Machine of measurement by coordinates: with a precision underneath of a micra

The machine of measurement by coordinates Micura, small and extremely precise, answers to the demand of the users of three-dimensional compact. The precision of the machine Micura is underneath of a micra. This is possible thanks to the sensor Vast XT Gold, that is able to scan the surfaces of continuous form and to a speed of 200 points measured by second.
The technology of scanning VAST Navigator, that is optional in the Micura, is the complement ideal, as it is able to adapt the speed of scan to each task of measurement: where are required a simple and lower outline precision, Micura acts to greater speed. However, when it needs a high precision, Micura acts automatically to lower speed.
The machine has guides of ceramics, cojinetes of air in the four sides and a big base that serves of support for all the mobile parts. Besides, this machine of measurement by coordinates has a signpost of easy control to use and a sensor of temperature allocated to attract the temperature of the piece to measure.


