Improvement of the productivity with the next generation of systems of measurement of form
The compact design of this new generation offers incomparable technological improvements that help to achieve greater heights of productivity, functionality and use.
The technological improvement of the new systems Hommel-Etamic F435 and F455 includes a table of rotation of cojinetes pneumatics. This guarantees the reproducibility of tolerances very adjusted during a long period of time. The centred and the levelled automatic of the piece of work guarantee the greater possible precision in all the rank of measurement. The axles Z and R are instrumented with guides of high precision, combined with systems of accionamiento special that increase the precision and speed of considerable form.
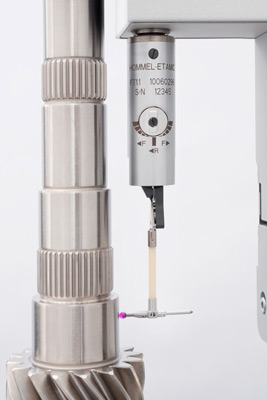
The arm of palpado, incorporates a module CNC of rotation and inclination that allows to effect the axial and radial measurements of form totally automatic, and ininterrumpidamente. Endowed with an axis of inclination (90º) and rotation (270º) motorised individually allow to the probe access to positions of difficult measurement to reach. The probe is addressable, with variable sensitivity in both steerings.
A singular innovation of the new design of probe consists in the capacity to realise measurements of rugosidad and ondulación, in addition to measurements of tolerance of form and position, with an only parametrisation.

Parametric programming
The program of evaluation leader Turbo Form allows to improve incidentally the productivity. The functional graphic interface of user guarantees a simple operation, even in the case of tasks of complex measurement. In addition to evaluating and present the parameters of form and position, the program includes, also, the peculiarity to evaluate the typical parameters of rugosidad and ondulación. To realise a follow-up of results and statistical analysis (SPC), the results can export in real time to the program qs-STAT.
Measurement of Twist according to the norm Daimler MBN-31007-07
Optionally and like standard package, is available the module of evaluation of surfaces of axles of crankshaft or trees in contact with boards of sealed (called commonly Twist or Lead measurement) according to the norm of Daimler MBN-31007-07 of second generation. This module evaluates the properties of estanqueidad in a surface that uses boards for axles. In accordance with the valid norm MBN 31007-07 of 2009 of Daimler, the new parameters such as the theoretical transversal section of flow of lubricante by revolution (DFu) or the length of contact expressesed in so much percent (DLu), can determine using algorithms of evaluation optimised. An evaluation optimised does that the results of measurement are much more stable, and the reduction of the length of evaluation of 5 to 2 millimetres with this team constitutes a saving of significant time.

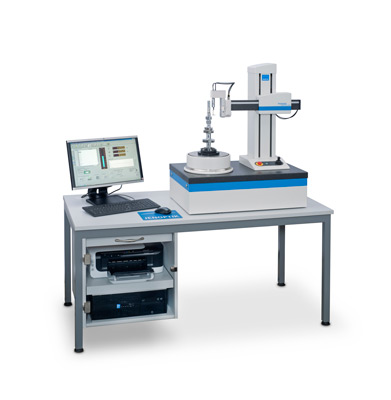
In summary, the new equipment of measurement of form present , in function of the type of application and of the task of measurement, in compact version of sobremesa or like place of work of complete and ergonomic measurement. It allows to measure pieces of until 40 kg and 430 mm of diameter. The most common pieces are toothed trees, pieces of injection, rings of rolling, valves, bielas and pistones. Jenoptik Offers special solutions that allow to include in the field of application of the systems Hommel-Etamic F435 and F455, also, the measurement of disks of brake. For each particular case of measurement, is possible to configure the equipment to obtain an optimum performance of the same.


